How To Install Barrierboard
What You Need
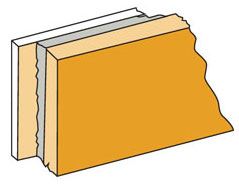
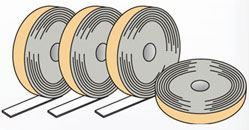
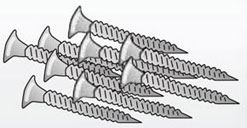
| Barrierboard Panels | Floor Seal Tape | 50 - 60 mm Screws |

|

|

|
How to Install
Step 1: Starting from an internal corner, clean floor of all loose material where Barrierboard panels are to be fitted.
Step 2: Apply Barrierboard floor seal tape in position on floor so it provides a seal under the rear 16mm section of Barrierboard panels. Press Barriseal firmly into contact with the floor.
Step 3: For the first panel to be fixed, trim the overlap off 16mm section of the Barrierboard so that it is level with the 10mm section. Install the trimmed edge of the panel facing into the internal corner.
Notes
- Barrierboard panels achieve full performance through overlapping and are designed to be installed vertically. If you wish to install them horizontally, a rebate must be cut at each end of the panel to the same depth as the existing overlap on the sides.
- Leave a small 2-3mm gap between the Barrierboard panel and the walls and the ceiling.This gap must be sealed later with an appropriate sealant (such as silicone or similar) to ensure noise transfer is minimal.
Timber or Metal Stud Wall
New Wall
Existing Wall with Plasterboard Lining
Solid Walls
New and Existing Walls
Important Notes
- If electrical or plumbing fixtures or fittings are to be moved, use a qualified tradesperson.
- All existing surfaces (whether painted, rendered or otherwise coated) should be free from loose materials and prepared by cleaning or scuffing all areas to be glued to ensure proper adhesion.
- Apply plasterboard adhesive in amounts and at spacing recommended in the diagram, then gently press the Barrierboard panel onto wall in the correct position. Then peel back the panel for a few seconds to allow adhesive to go tacky before firmly pressing the panel back into place. Primary bonding should take place within 5 minutes.
- Permanent or temporary fixings may be used to hold the sheet in place if required. In all cases, avoid screwing through the silicone plugs.
- Finishing of walls and fixing of cornice, architraves, skirting’s, etc. should be carried out as per normal methods.
- If your installation type is not covered in the above instructions, please contact us for more information.
Download these instructions as a printable PDF document
Contact us today for more information or please enter your requirements for an online quotation.


